
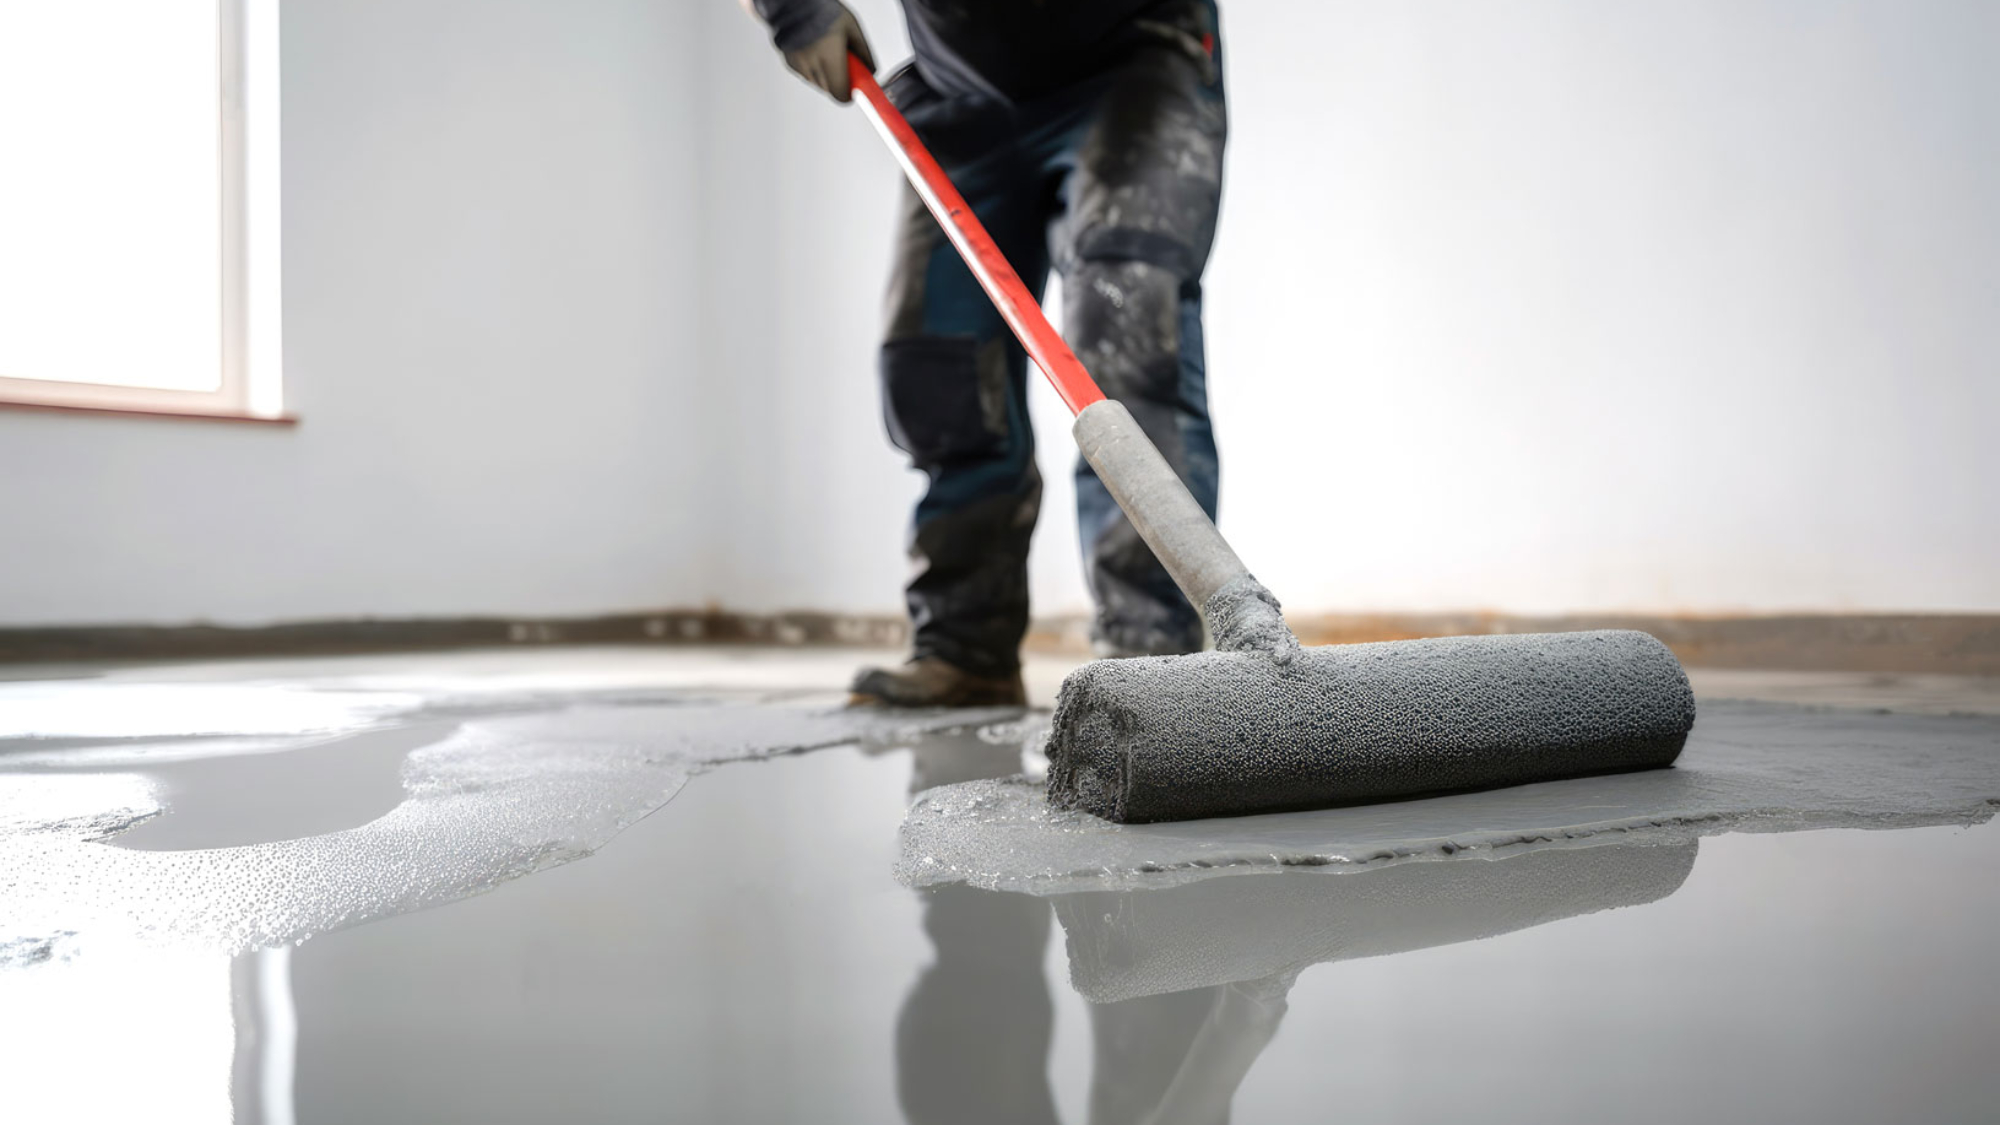
How to Prevent Screed from Cracking
Screed is a crucial layer in many flooring systems, providing a smooth, level surface for finishes and ensuring long-term durability. Yet cracking can be a common concern for homeowners and trades alike. Understanding why screed cracks and how to prevent it can save time, money, and hassle on any project. In this guide, we’ll explore practical strategies to prevent screed from cracking, address the question can liquid screed crack?, and offer tips for both new builds and renovations.
What is screed and why does it crack?
Screed is a layer of concrete or cementitious material applied to a floor base to create a flat, level surface. There are various types of screed, including traditional concrete screed, anhydrite screed, and liquid screed. Cracking can occur for several reasons:
- Drying shrinkage as the screed loses moisture
- Thermal movement and temperature changes
- Improper mixing or dosing
- Inadequate curing
- Structural movement or substrate issues
- Rapid or uneven drying, especially in large areas Understanding these causes helps in selecting the right prevention methods for your project.
Can liquid screed crack?
Yes, liquid screed can crack, just like traditional screeds. Liquid screed, typically based on calcium sulfate (anhydrite) or cementitious formulations, is prone to some of the same cracking mechanisms: shrinkage, thermal movement, and curing stresses. However, liquid screed tends to have different drying characteristics and plastic shrinkage behavior than traditional screeds, which can influence cracking patterns. Proper design, mixing, and curing are essential to minimise the risk. The good news is that with correct practice, cracking can be significantly reduced in liquid screed installations.
Key causes of cracking and how to prevent them
1. Shrinkage from moisture loss
- Ensure proper moisture balance before, during, and after installation.
- Use appropriate water-mending or moisture control strategies specified for the screed type.
- For liquid screed, follow manufacturer guidelines on water content and additives that control shrinkage.
- Maintain stable indoor humidity and temperature during curing.
2. Poor curing
- Implement a curing regime suitable for the screed type (e.g., fog curing, curing compounds, or damp curing where advised).
- Protect the surface from rapid drying with coverings or breathable membranes if ambient conditions are harsh.
- Avoid exposing the screed to direct sunlight or strong drying drafts in the first 7–14 days.
3. Substrate movement and bonding
- Ensure the substrate is sound, clean, and well-bonded to the screed.
- Use appropriate primer or bonding agents as recommended by the screed manufacturer.
- Minimise differential movement by providing proper expansion joints and perimeter insulation.
4. Incorrect mix design or dosing
- Follow the manufacturer’s mix design and instructions precisely.
- Use approved additives and admixtures that reduce shrinkage and improve elasticity.
- Ensure consistent batching and thorough mixing to avoid weak planes.
5. Overloading or heavy traffic too soon
- Plan for a suitable loading schedule, delaying heavy foot traffic and furniture placement until the screed has gained sufficient strength.
- Follow guidance on screed strength classifications and curing times.
6. Temperature and humidity variations
- Control site conditions to avoid rapid temperature changes that can induce stress.
- Use insulation and controlled heating/cooling strategies during and after installation.
Practical tips for installers and homeowners
- Consult the manufacturer’s data sheets for the specific screed product you’re using, whether traditional or liquid screed.
- Choose a screed with proven crack-resistant properties or one that includes shrinkage-reducing admixtures.
- Ensure accurate self-levelling or screed thickness within the recommended tolerances.
- Plan expansion joints and perimeter joints to accommodate movement.
- If using liquid screed, ensure proper piped underfloor heating integration and even distribution to minimize drying stresses.
- Prioritise thorough curing; even small lapses can lead to surface cracks or crazing.
- Schedule inspections for cracks early and address underlying movement rather than merely filling cracks.
What to do if cracking occurs
- Assess the type and severity of cracks (hairline vs. wider, structural vs. cosmetic).
- For minor surface cracks, use suitable fillers or patching compounds compatible with the screed type.
- Structural cracking requires professional assessment; underlying substrate movement may need to be stabilised.
- Consider vibration control and future load planning to prevent recurrence.
- If cracks appear after underfloor heating installation, check for proper design and expansion planning.
Maintenance and long-term prevention
- Regularly monitor for changes in floor flatness and movement in large areas.
- Maintain stable humidity levels to reduce moisture-driven shrinkage.
- Schedule periodic inspections after significant changes in temperature or occupancy.
- Use protective floor coverings during decorating or finishing to minimise surface damage that could propagate cracks.
Final thoughts
Cracking in screed is a common concern, but with careful planning, proper materials, and diligent curing, you can minimise the risk significantly. Yes, can liquid screed crack? It can, but with the right practices, the likelihood drops substantially. By understanding the factors that contribute to cracking and following manufacturer guidelines, you can achieve a durable, smooth, and long-lasting floor surface. If in doubt, consult a qualified flooring professional who can tailor a crack-prevention strategy to your specific project.
Add a Comment